Getting Started With Monti APM
This guide will help you get started with Monti APM to understand how your app behaves and how to use the information.
Install and Configure The Agent
Add our Meteor package by running:
meteor add montiapm:agent
Next, configure your app by adding this code into any file in your app's server directory.
Monti.connect('<appId>', '<appSecret>')You can find the appId and appSecret in the app's settings page in Monti APM.
It is very important to add this code in the server directory. If you do not, your Monti APM app credentials could be exposed to the client.
Auto Connect
Monti APM agent has the ability to automatically connect to Monti APM if credentials are present either through Meteor.settings or environment variables without the need to explicitly call Monti.connect from your code.
Using Meteor Settings
Add a monti object to your app's settings.json file.
{
  "packages": { ... },
  "public": { ... },

  "monti": {
    "appId": "<appId>",
    "appSecret": "<appSecret>",
    "options": {

    }
  }
}
Using Environment Variables
Set the following environment variables before you start your app, or configure them when deploying your app.
export MONTI_APP_ID=<appId>
export MONTI_APP_SECRET=<appSecret>
You can also specify options with environment variables. To learn more, look at the options documentation.
For example: if you want to see where each event in traces was started, you can use this environment variable:
MONTI_EVENT_STACK_TRACE=true
After you've successfully connected your app with Monti APM, you'll be able to see messages like the ones below, which indicate you've successfully authenticated with Monti APM.
  $ meteor
  [[[[[ ~/projects/my-meteor-app ]]]]]

  => Started proxy.
  => Started MongoDB.
  => Started your app.

  I20240612-10:54:27.357(-5)? Monti APM: Connected
  => App running at: http://localhost:3000/
After about one minute, your data will be processed and be available on the UI.
If you are connecting to Monti APM behind an enterprise firewall or using a HTTP/HTTPS proxy, you need to configure the agent for that. Learn more in this article.
Monti APM Dashboard
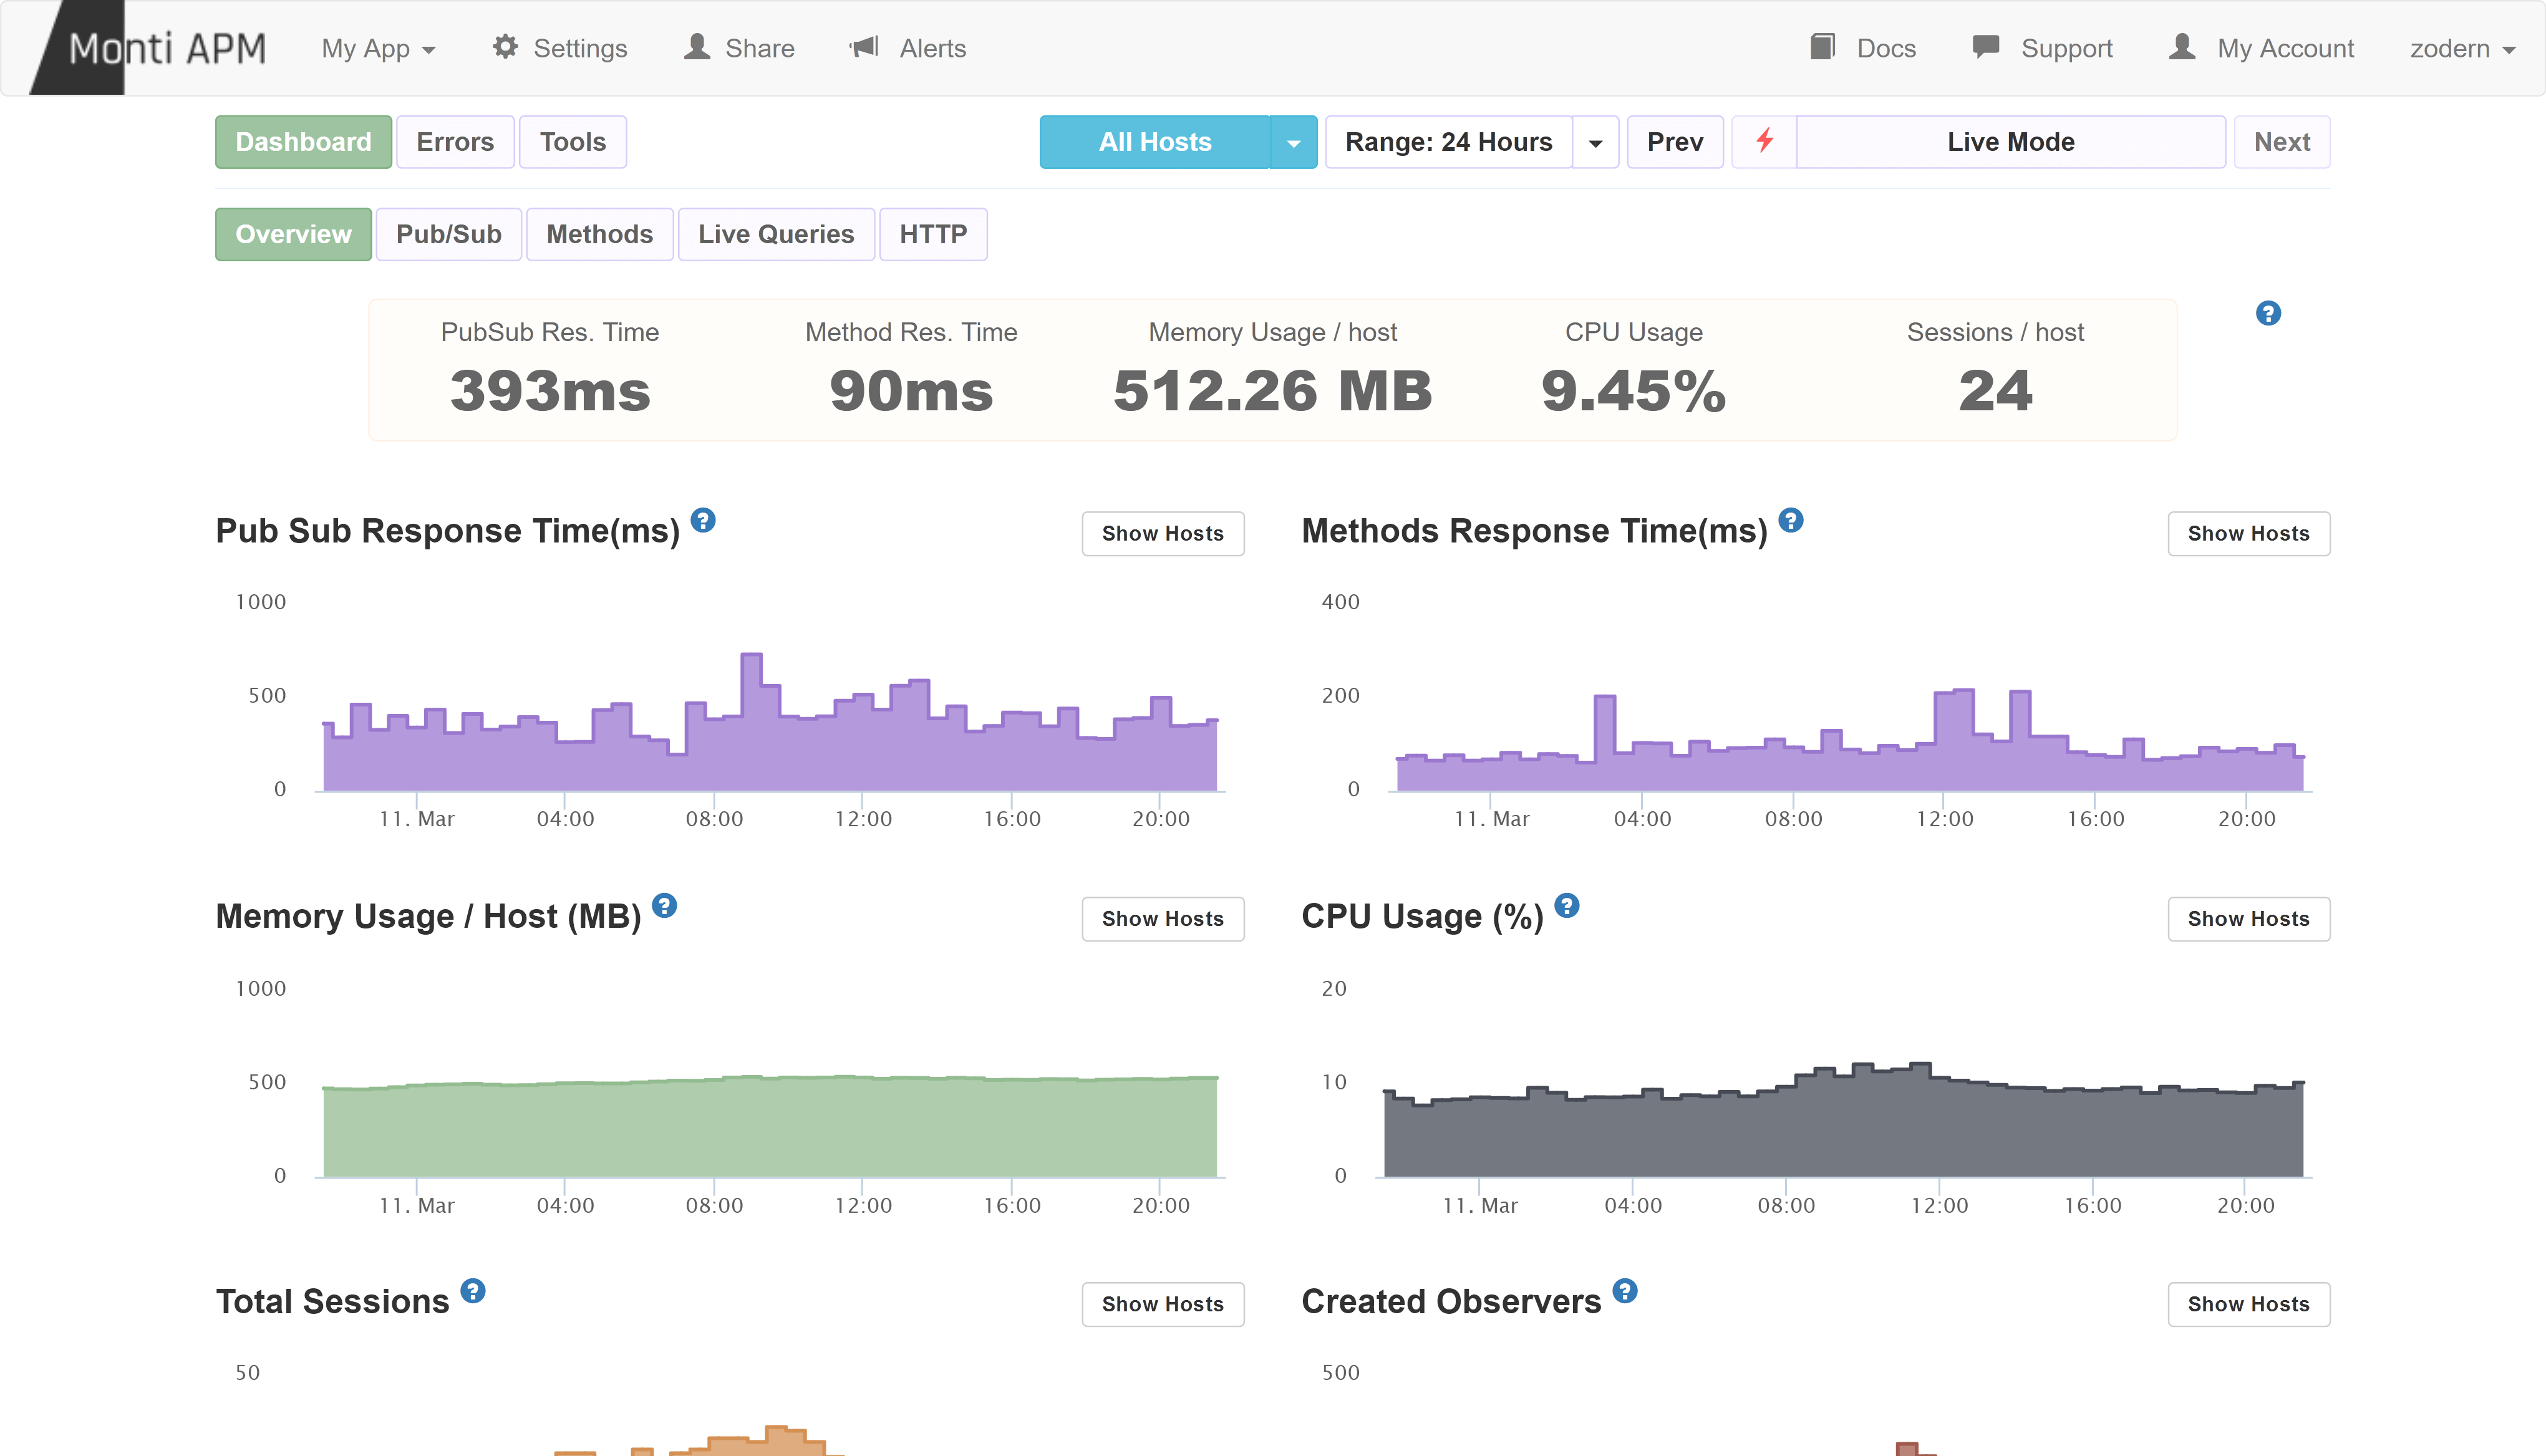
The Monti APM Dashboard is very nicely designed and super easy to use. Yep, it's a Meteor App too. This is the overview of the Monti APM Dashboard.
How to Use Monti APM
Let's assume you've added Monti APM and it has enough information (about 30 minutes of runtime data) to provide a good analysis. There is no right or wrong way to use Monti APM but I will suggest two ways to get started.
Finding and Fixing Bottlenecks in Meteor Methods
For a typical Meteor application, the average Response Time of a Meteor Method should not be more than 200ms. If it is more than this, in many cases there are ways to improve performance.
- First, click on Methods on the Main Menu and look at the Response Time.
- Also look at the Response Time graph for any spikes.
- If you find places where the Response Time is higher than 200ms, click the Detailed View button on the Sub Menu.
- Then find the Response Time and click on the spike in the graph.
- This will show a set of traced methods at that time.
- Click on a trace to see exactly what has happened on that method at that time.
- Follow this guide to understand the traced data and improve your method accordingly.
You can follow the same process for PubSub.
Finding Methods You Need to Improve
In your app, you might be using many Meteor Methods. You may need to improve all of them. It is a good idea to start, though, with the ones that have more impact. We’ve identified that if you can improve a method with higher Throughput, it will impact more on the total performance gain. To do this, follow these steps:
- Click on the Detailed View of Methods.
- Sort the Methods Breakdown by Throughput (the default sort criteria).
- Click on a method name in the Methods Breakdown.
- In the Recommendations section, you will see the impact you can have if you improve the selected method.
- Click on the Response Time Graph and find a trace.
- Analyze it with this guide and improve your method if possible.
- Do the same for all methods.
You can follow the same process for PubSub, but you will need to sort the Pub/Sub Breakdown by SubRate instead of Throughput.
If you need help or more information, don't hesitate to raise a discussion at our official repo or contact us using the Support button in our App. Good luck and don't forget to share your experience with us.
